
Hope the quality is good enough.
helenxx


 |
| I loved this skirt from the moment I saw it because it is so dramatic- you can't not turn your head, whether you like it or dislike it. The photography is stunning as well, I'm not sure how well you can tell in this picture, especially as it was cut out, but the model is posing on a flight of stairs, which create a leading line in the picture that mimics the line of the dress and accentuates it's length and size. It is such a glamorous photograph, the angle of the photographer as well- looking up at this larger than life model, like we look up to celebrity and fashion. I can only describe the photographer's prowess as intuitive- that is the word which constantly comes to mind. |
 |
| I adore back details on dresses! The dress on the right should be familiar for regular readers. The others are all off the Urban Outfitters website. I am determined to sew each of these into a dress, but I will have to learn to actually sew a basic dress first. |
 | |||
| A fantastic way to wear leggings. So elegant and understated. Now that I have learned to sew leggings, I am determined to find some fabric from which I can make soft ones like these to roll up. Pity she has such skinny ankles though. Possibly needs to eat some avacado on toast. |
 |
| You'll need a very stretchy fabric for this- I think mine was a stretch jersey but I am really not good with fabric types. Step 1: Cut a rectangle of fabric. The width should be 1" wider than the measurement of your hips or waist, (wherever you want the top of the skirt to fit). If you make it any wider than 1", you run the danger of the elastic bunching it too much, so that the top won't lie flat. The length of the rectangle is whatever length you want the skirt to be, plus the width of the elastic you'll be using, and an extra 1" or so for the bottom hem and to allow for the stitching of the elastic casing. I used the width of the fabric as it came off the bolt as my length. (I'm really not sure what that was though!). This photograph shows the type of stitch you'll be using. On my machine this is called a stretch overedge stitch. I'm not entirely sure what it does, but the machine manual said that it finished edges, as well as being suitable for seams on stretch fabrics which will need to be flexible. Make sure also that you have changed your machine needle to a ballpoint needle- I think that the theory goes that if you sew with a normal needle you'll break the threads of the fabric, whereas if you use a ballpoint needle, you will push them out of the way of the sewing thread. Your machine manual is the best bet for information on how to change needles and also what stitch to use. |
 |
| Step 2: Sew the side seam, by folding the right side of the fabric together and stitching in a straight line as close to the edge of the fabric as possible. This will create a tube. |
 |
| Step 3: On one of the width ends, use your elastic to measure how wide the elastic casing needs to be. This is basically another tube you are creating along the top of the skirt, which becomes an elastic waist band. Once you have the width, all you need to do is fold the right side of the fabric over onto the wrong side, and pin and then sew along this edge. Make sure you have just enough room to wiggle the elastic around. Oh, before this step you should have measured the elastic- do this simply by wrapping a piece around your waist or hips, (wherever you want the skirt to fit), pulling it tight and then cutting this length off. When you sew up the casing, make sure to leave a gap unsewn, so that you can slide the elastic into the casing. Use a safety pin attached to one end of the elastic to pull it through the length of the casing and back out the gap. Sew these ends together, and then finish sewing up the gap. You'll want to make sure that the elastic is sewn together very well, as it will stretch to pull on and off. |
 |
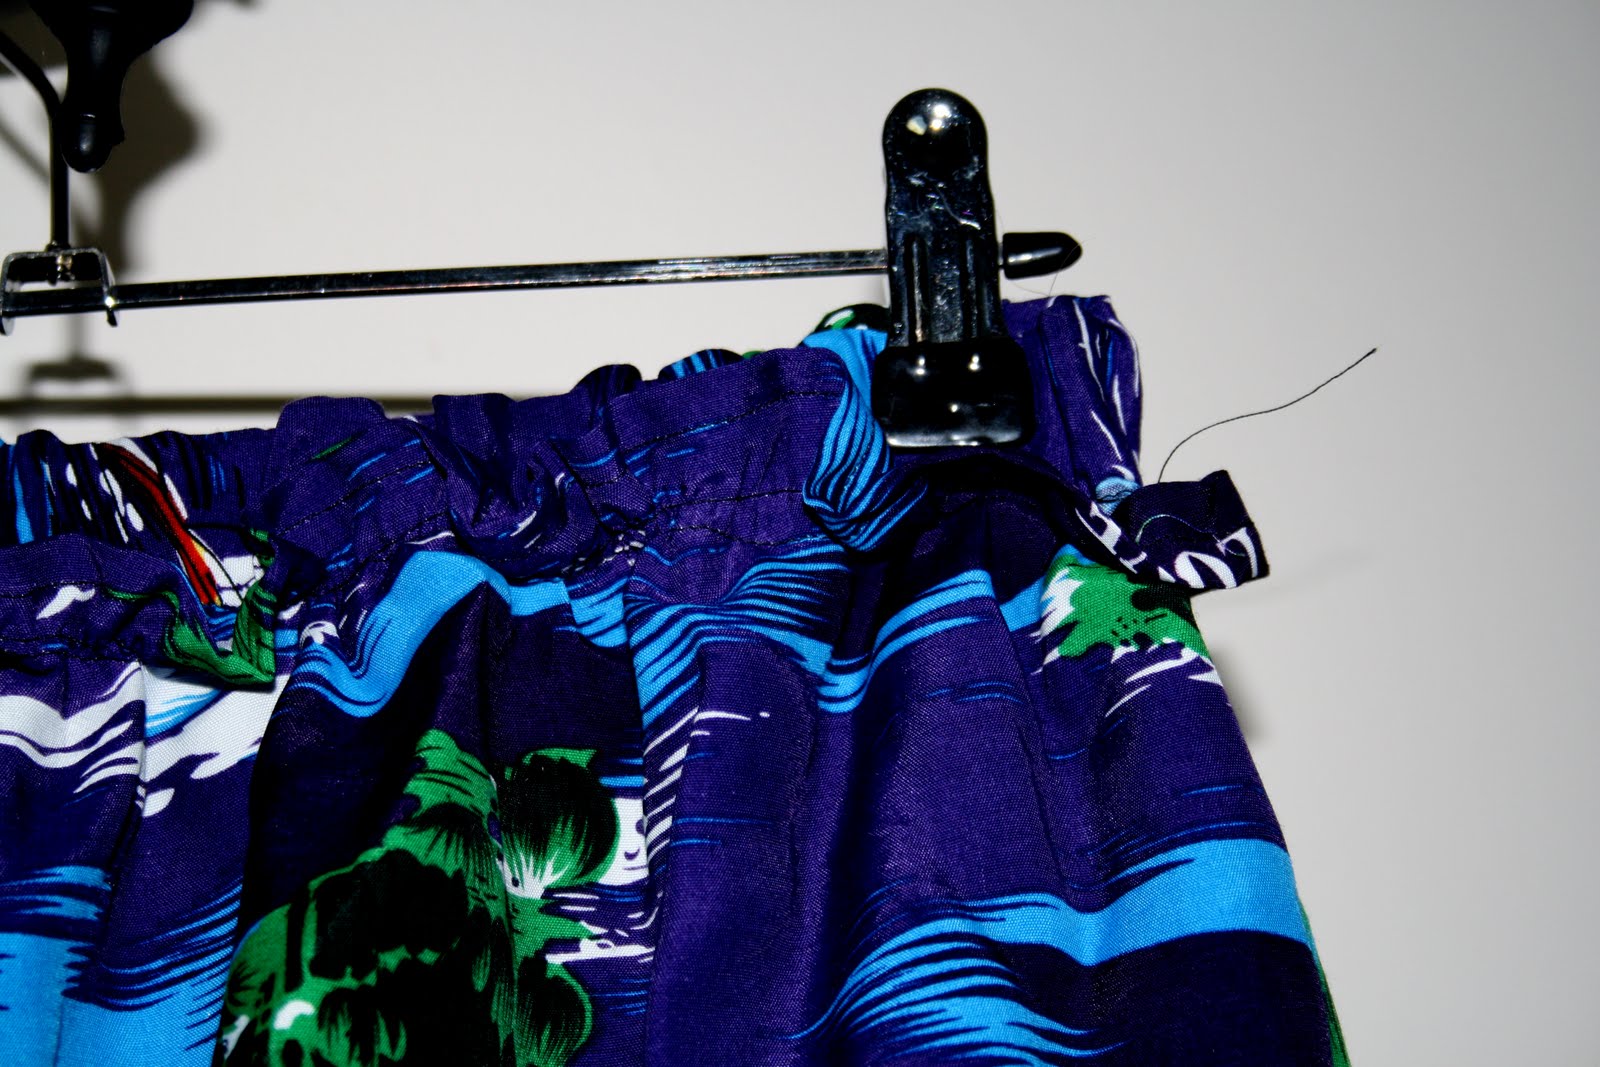
| Step 4: To sew the bottom hem, you simply fold over the right side onto the wrong, and stitch this down. make sure you align the folded edge with one of the little ruler markers next to the machine's foot, so that you sew in a straight line which will be parallel to the edge on the outside of the garment. It just looks a lot neater. This is what your skirt should look like at the end if it is a maxi skirt. |
 | |
| You could also make a mini skirt or pencil skirt using the same method. I am going to make a black one to wear with everything, and under floaty dresses. |



 |
| Introducing Sunshine Bayard- my boyfriend and his brother's joint-custody dog... |
 |
| looking rather sheepish because she just did this, and... |
 |
| this and... |
 |
| this. Actually this one was a sneeze but it looked so cute and like she was trying to eat the pattern for dinner that I had to put it up. A note about Sunny- she is the most neurotic dog I have ever met; she is terrified of new people, cars, my dad, my family's tiny border terrier, vacuum cleaners, my sewing machine, basketballs, cats, dogs, the wind, rain, etc etc etc. But sometimes she gets it into her head that she is Boss, and that I am her loyal servant who must give her pats on demand. It is so damn cute :) |
 |
| The crazy boy and crazy dog. |
 |
| The first step... |
 | ||
| And finished product! The fabric's pattern actually went perfectly with the top I was wearing! Fantastic. |
 |
| Step 1: Grease a casserole dish with butter. |
 |
| Step 2: Cut the crusts off a lot of white bread, and spread with butter or margarine. |
 |
| Step 3: Place some of the bread slices in the bottom of the casserole dish, and then sprinkle with brown sugar. |
 |
| Step 4: At this point, you can begin adding whatever you want. Here I use ginger nut biscuits, crushed up, and in subsequent layers I also use crushed oreo biscuits and torn up croissant. |
 |
| Step 5: Continue to layer the pudding- using a layer of bread, brown sugar, then the biscuits, fruit or other filling, then more bread and sugar, etc. Some suggestions for fillings other than what I have used here; sponge fingers dipped in coffe or coffee liquer, sponge cake, fruit bread or fruit cake, dried fruit, pieces of chocolate, various sweet biscuits, banana, hot chocolate powder or frozen berries. Anything you can think of will probably work, just make sure that any bread or cake can absorb a lot of the custard. |
 |
| Step 6: In this layer I have torn up some croissant and put that over the brown sugar. Croissant is a French bread, made with heaps of butter, that is usually eaten for breakfast. I found mine at the local Woolworths, but you can also find them in most bakeries. |
 |
| Step 7: On the last layer, to make it look pretty, cut the remaining slices of bread into triangle shapes, and layer them sticking out at an angle with whatever other bread or cake you have used. You can sprinkle sugar and cinnamon at this point as well, to make the bread come out of the oven a lovely brown colour. The cinnamon will also make the pudding aromatic. |
 |
| Step 8: To make the custard, you will need 2 tablespoons of caster sugar, |
 |
| 600ml of thickened cream, and 2 eggs. You can add to this some liqueur, but it is best to use a milk based liqueur such as baileys, and use only a small amount as a large amount of alcohol can prevent the custard from setting properly. |
 |
| Step 9: Whisk the ingredients together in a large jug. You may need more or less custard, depending on the size of your casserole dish, so make sure you have extra ingredients sitting nearby. Once you have whisked the custard, pour over the pudding, pressing the bread down as you do so to make sure it gets through all the layers. Be sure to wet all of the top layer with custard as well so that it doesn't dry out. |
 | ||
| Step 10: Bake for 25-35 minutes at 180 degrees Celsius. Serve hot, with ice cream. |
 |
| Even though I don't like high necklines myself, because I think they can give an unflattering silhouette of women's breasts, I can see how this would work on a lot of girls. I wouldn't suggest wearing something like this if you had big breasts however, as the detail in the neckline would focus attention on this area. To me, this would be better as detail on the back of a neckline. |
 |
| Loose shorts are in vogue at the moment, aren't they? Here is another pair I saw a while ago on Burdastyle. I think these look really cute from the front, but I can't say that I understand the attraction of this type of short from the back. If the ones I have seen around shopping centers are anything to go by, they tend to bunch up in little v's around your bum, making you look like you have a size XXXXXXXS bathing suit on underneath. I would love to be disproved though, as they do look very cute from the front, so if you can find any pictures which look flattering from all sides, (and not just on a wafer thin model), comment me! |
 |
| Chiffon is another 'in' thing. I think this is chiffon... Well, anyway, I have a pattern that I think would work great as a maxi skirt in a sheer fabric like chiffon, so hopefully I'll get a chance to try that soon. I also love this ocean blue, it is so deep and romantic and whimsical. Like the dark older sister of Alice in Wonderland. |
 |
| Does anyone else find capes incredibly hard to wear? They look so good on the skinny models plastered all over magazines, but on everybody else, it involves a whole lot of research. For example, will cropped capes make you look pregnant? Will longer ones make you look 4" tall? And what can you actually wear underneath them- because a cape does tend to steal the show. |
 |
| I would love to be able to say that I had made this dress! However, I am planning to be inspired by the Lattice Dress I blogged about recently, and attempt something interesting and hard. I figure that this would be made of three separate pieces, the skirt, the twisted bra-ish top, and the neckline. Surely that wouldn't be too hard.... |
 |
| This on the other hand wouldn't be that hard, and could easily be made by opp shop finds. All you would need would be a T-shirt to turn into the stretch skirt, and an old tank top or a sheer skirt you could turn into the top. Some of the other Motel designs also feature lattice or crisscross backs, made by cutting strips of the fabric, finishing them, and then sewing them back onto the back in the desired crisscrossing pattern. Definitely worth trying, comment me if you already have. |
 |
| This is another gorgeous feature neckline. I have no idea how you would make this one though! Another dress that wouldn't suit women with bigger breasts however, unless you wanted your cleavage to bulge through the sheer fabric. Which I have seen. It really isn't worth trying. Also, try to remember that anything with lines like this will probably create dents through any fat or tissue that presses against it. So if you do have big breasts, it will create something akin to a Visible Panty Line, through the vertical middle of your breast. Not very desirable. |
 | ||
| I actually have a vintage dress similar in shape to this, except with a collar and buttons, that is waiting to be hemmed shorter. Dresses like this are great for women with small waists, especially with a belt to cinch you in even more. And that is, I am told the hourglass silhouette which men like best. On a side note, my dad has always maintained women dress better for other women, rather than to attract men. What do you think? |
 |
| This is me crocheting the beginnings of a granny square skirt... |

 |
| I've chosen to make each square individually... |
 |
| And then join them together by sewing with the black wool. There were a lot of simple techniques I used in this project, and stay tuned because as soon as I have photos of it, I'll blog a tutorial on how to make one and on my journey to crocheting... |
 |
| These fingerless mitts were actually made for me by my mother, who taught me to knit. The yarn used here has silk in it, and it feels as soft and slippery- as metallic- as it looks in this picture. Although she sewed on a flower motif, to me these mitts are more reminisce of the ocean. The cool colour of the yarn, the turbulent, milky silver and blue in the center of the buttons, and the icy blue thread in the embroidery seem to me to be symbolic of a cruel but stunning winter ocean. I just love them. |
 |
| These mitts were also knitted by my mother, and aren't as special as the ones above. But they are WARM and THICK! They are a little too big for my hands, but this actually allows me to wear tops or jumpers with longer sleeves, and to tuck the ends in under the mitts. They are comforting mitts. |
 |
| Another mother-made piece of knitwear! These are my first pair of hand-knitted socks. I never used to let my mother knit me socks, because I have always been determined that you cannot wear socks that are in between ankle length and thigh length. I don't know why I was so against that middle ground, but I have been for years, until I found ankle boots. Now, I have four pairs of ankle boots, and these socks are a warm blessing underneath them. Hand-knitted socks are fantastic at night- I have bad circulation in my feet because of the tablets I have to take, so my feet were always freezing until my mum made me these socks. |
 |
| Fingerless mitts are very easy to make! But I get bored- as I have with the project above and the project below. Both are pairs of fingerless mitts I have been making for months now. The ones above were meant to be a Christmas present. |
 |
| I included this close-up shot to show anyone who doesn't know what ribbing looks like. These mitts are very simple to make- knit two, purl two for the rib, until you get the desired length you want from your wrist down your arm, then knit only until they measure to about your first row of knuckles on your fingers, and then either cast off or knit two purl two to create a small rib to tighten them around your fingers. You can also reduce the stitches before the rib if you want them to fit snugly around your fingers. So what you should have now is a rectangle big enough to wrap around your hand snugly, with a wider rib at the bottom and a thinner rib at the top. You need to measure where your thumb is, and sew the sides of the rectangle together up to that point, then start sewing again from the top of your thumb up to the top of the rectangle, and there you have it! Please tell me if this isn't enough information, I would be happy to put up a more in-depth tutorial. |
 |
| I love the colours of this yarn. I am very much a colour girl over anything else. |
 |
| Again, this is not something I have knitted. This is a scarf my best friend Janelle made me in my second last year of high school. She used a whole lot of yarns, bought from op-shops and left over from other projects to create the most random stripes. It is the brightest, happiest piece of clothing I own- and it always brings a smile to peoples faces which makes it one of the most treasured as well. |
 |
| And it is long! I asked her to knit me a long one, but I really didn't expect it to be this big. I am about 5'9", and this is at least 125% of my height. I can wrap my torso and neck in it! |
 |
| I have knitted two scarves from this wool, the other was for a friend's birthday. It is hard to tell in this photograph, but the black wool also has metallic bits woven into it in a rainbow of colours. It is a subtle effect, but it works really well because the scarf still goes with everything while being a little bit interesting. |
 |
| This is my pom pom scarf! The yarn was actually bought for my Year 12 Vis Com folio, but my experimentation with it didn't work, (I didn't really expect it to but it filled out about three pages which was realllllllllllly helpful!) so I turned it into this enthusiastic scarf instead. A lot of people seem to shy away with knitting with this kind of bobbly wool, but there is really no need to. If you use a thick needle, and knit a loose gauge, you shouldn't have any trouble because the wool is quite strong and the pom poms will just pull through the stitches. You would need a tighter gauge for something like a kid's jumper, to make it warmer and to hide the stitches underneath the pom poms, but I really don't think it would be that hard with some previous knitting experience. I will try and get some more of this yarn and experiment with it for you in the future. |
 |
| My first beanie! I actually knitted two of these because the first was too small for my head- even this one doesn't really fit properly, but with bobby pins I can kind of perch it on my head. I loved the colour of this yarn, it reminds me of watermelons because of that vivacious, summery pink. I went through a long stage of not liking pink, but now it makes me happy to look at. Again, I think knitters who are just beginning can be a bit scared to knit things like beanies, it is a bit daunting to start something shaped. But if you think about it, how many times have you dropped stitches without realising it? Or added them? My first scarf was definitely not rectangular- it was a ripple, from all the times my mum fixed it, only to have me drop five more stitches the next round. Basically all shaping is is making deliberate mistakes in the amount of stitches you need, and you already know how to do that so why not try it? |
 |
| And lastly, I am planning to use this Cleckheaton Country Wide wool to make the skirt picctured on the front of this pattern book. I have wanted a knitted skirt for so long, and I think this one with the recurring diamond pattern is stunning. The red wool I chose off Ravelry for this project is a rich maroon kind of red, perfect to add a splash of colour to the traditional Melbourne winter style, (black on black on black on black). I'm really excited about this skirt! |

